As with any photographic expedition, make sure you get your basics right. Make sure your camera’s battery if fully charged and if you carry multiple batteries, make sure all of them are fully charged. This will be especially important as you will be taking a lot of long explore photos, which tend to be more taxing on your batteries. Also make sure your memory cards are all formatted and ready to go. So, these are the Equipment that accompanied me on this trek:
- Sony A7RIV (with L-bracket)
- Sony FE 16-35 F4
- Hoya ND8 filter + CPL
- Wireless shutter release
- Carbon fibre tripod with ball head
- GoPro Hero 4 Silver with motorised 360 degree panoramic head and gorilla pod tripod
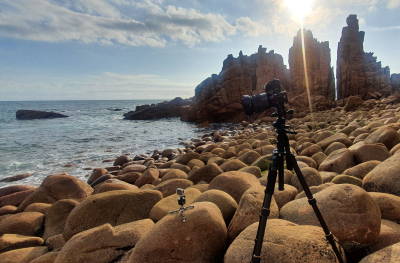
Sony A7RIV on Tripod with GoPro on Gorilla Pod
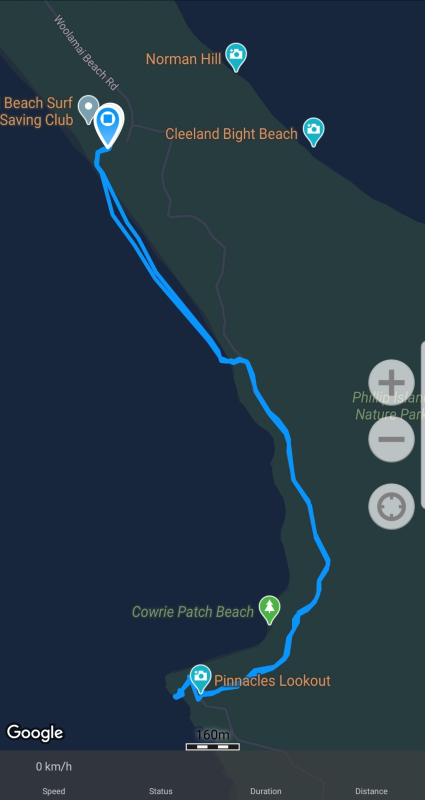
You can use this link to find directions on how to get to the Pinnacles.
Google Maps
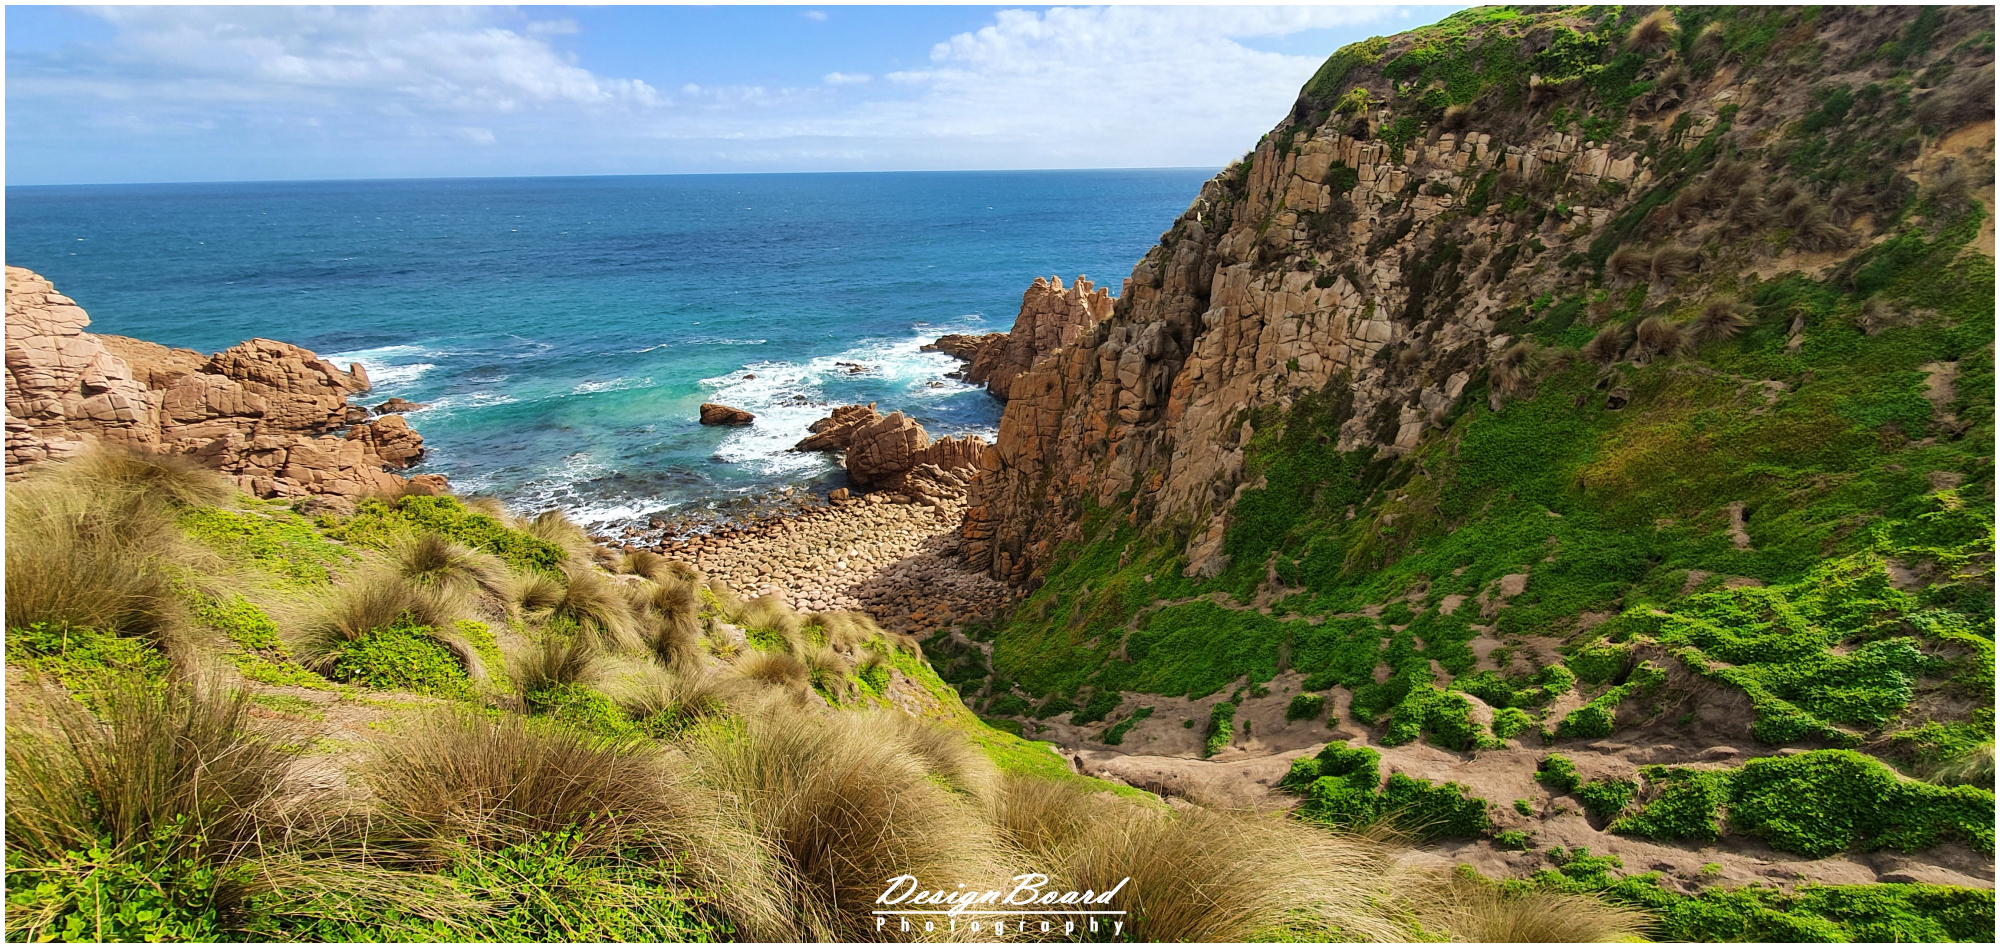
Once you get to the car park, walk down to the beach, turn to your left and walk along the beach for about half a kilometer.
At this point, you’d have two options. You can either walk along the beach or you can take wooden steps from the beach to the walking track.
I chose to walk along the walking track. You should be able to get there by following the coast line as well, but that would be bit more of a challenging walk. Also, if you’re taking this path, make sure to keep a close eye on the tide level. Especially, when the tide is coming in or when it’s high, it might not be possible to walk along the beach.
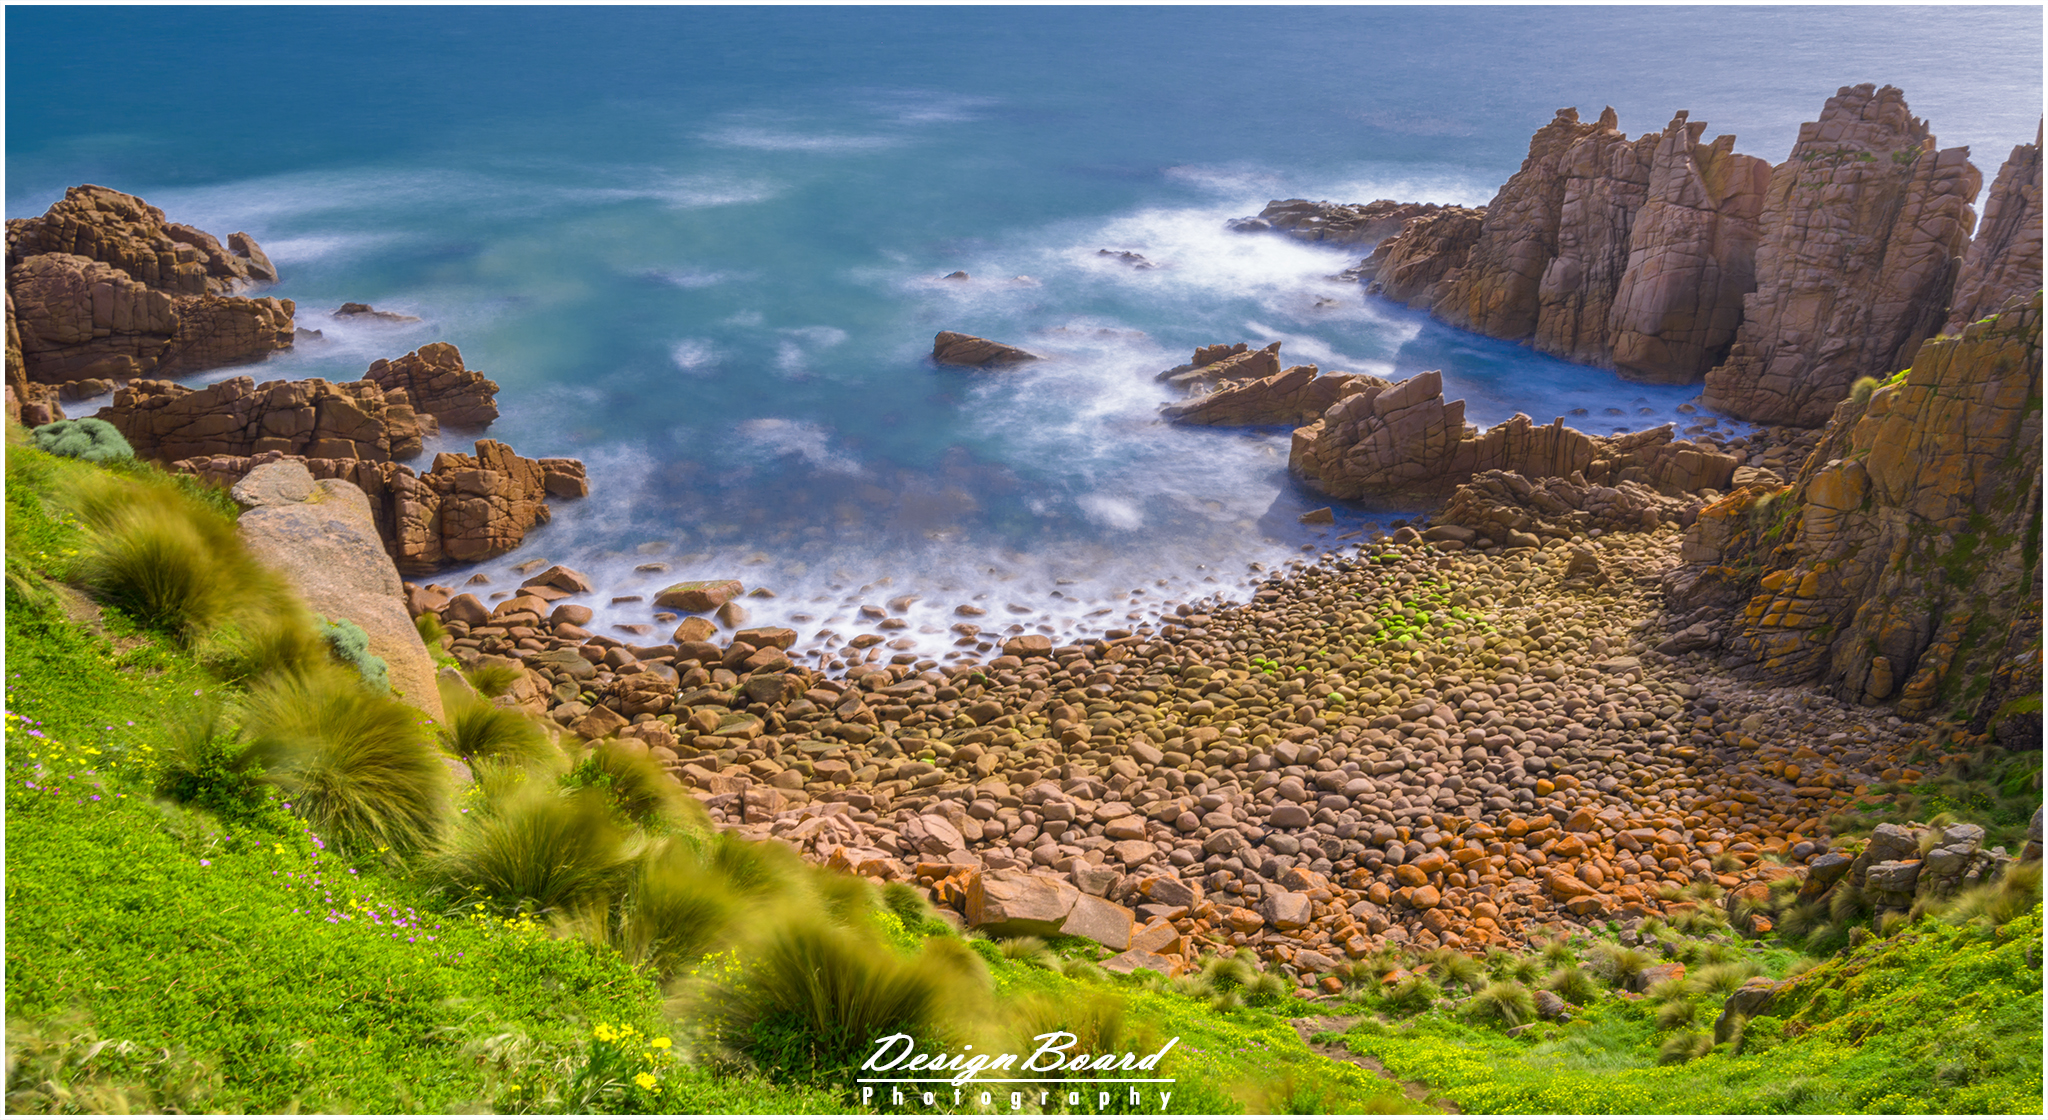
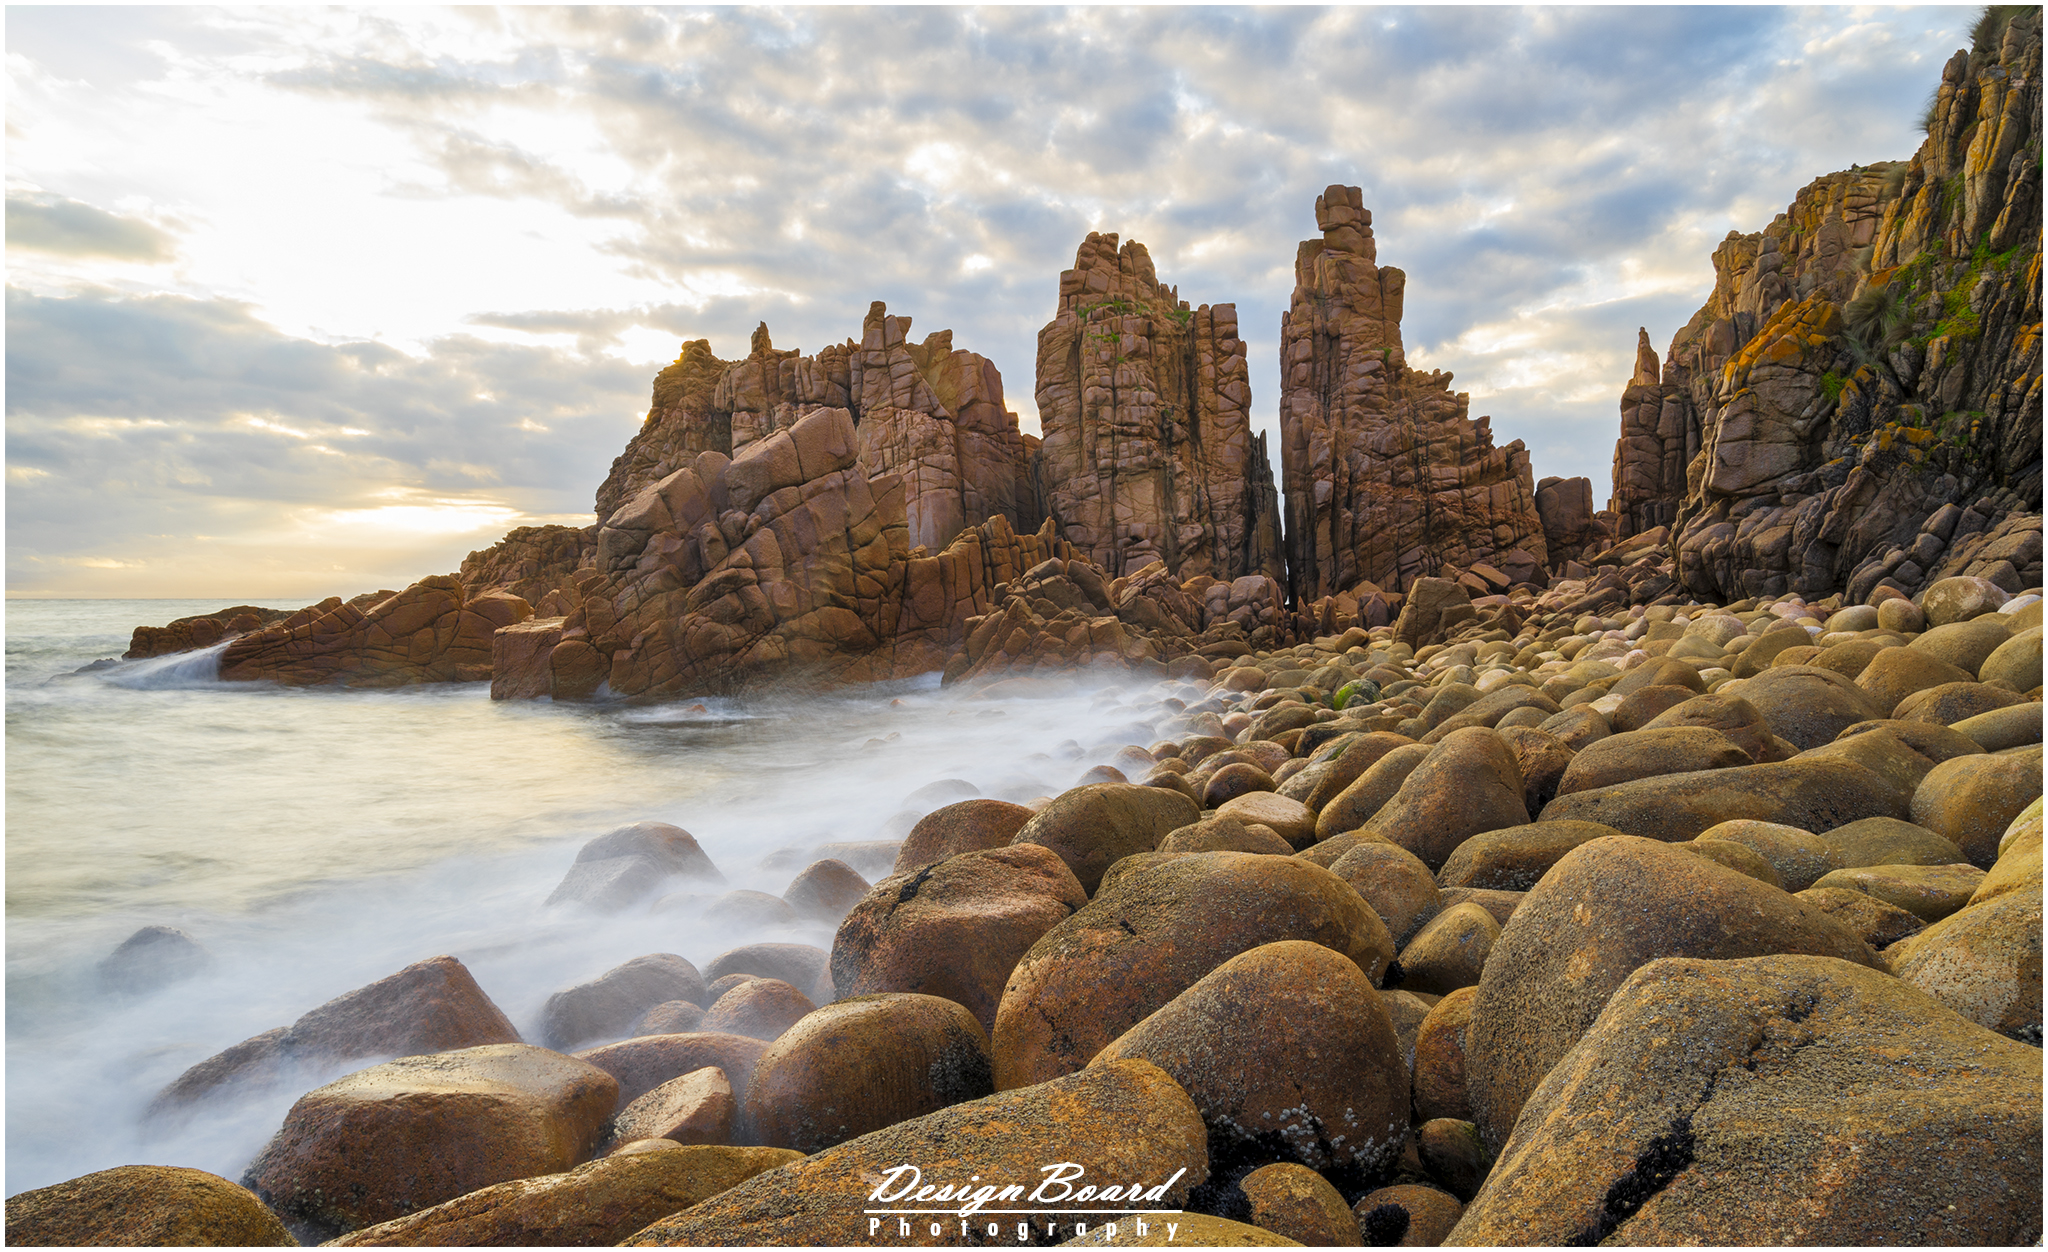
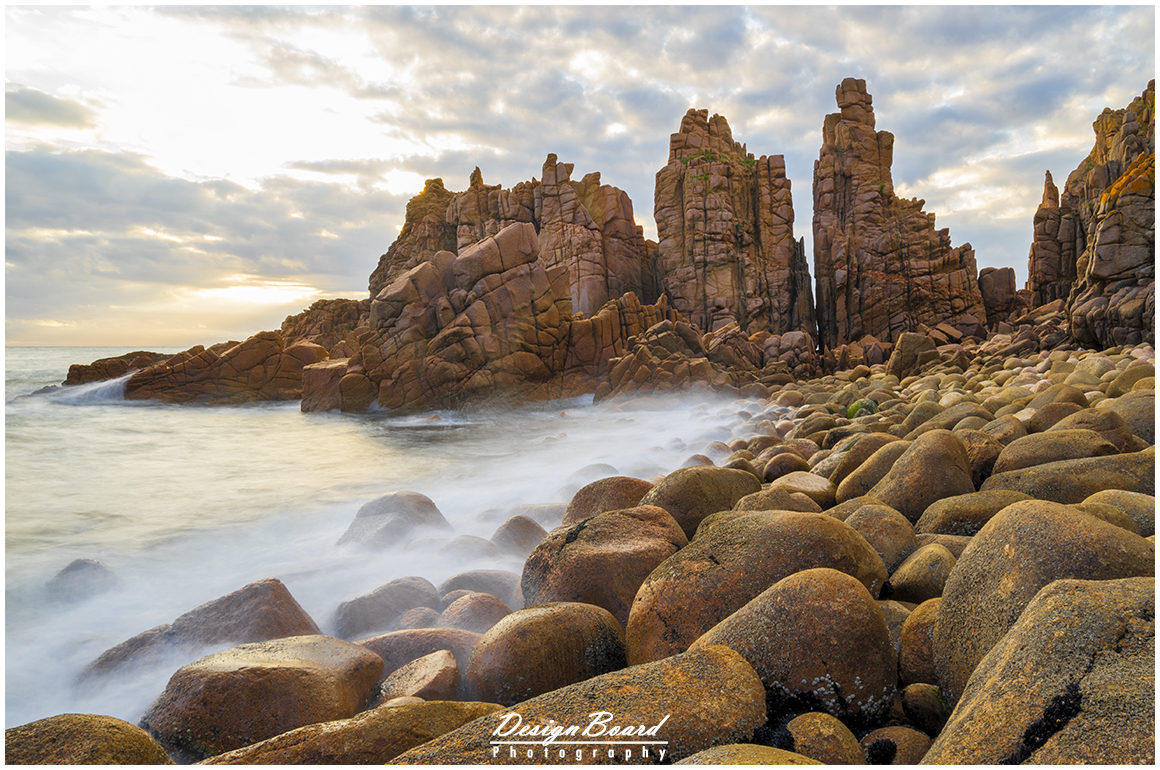
The walking track is a well traveled path and a leisurely two kilometer walk will bring you to a viewing platform that overlooks the beautiful Pinnacles below.
Here are some more details about the walk to the Pinnacles Lookout from the car park.
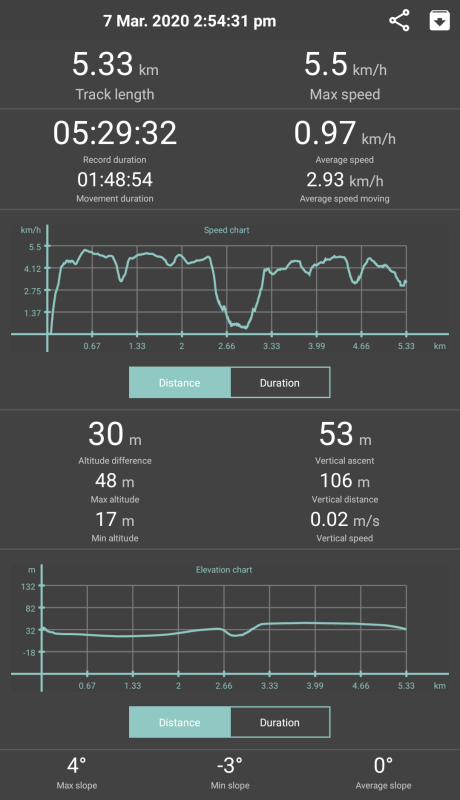
Walking Details from the Car Park to the Pinnacles
Walking Details from the Car Park to the Pinnacles